
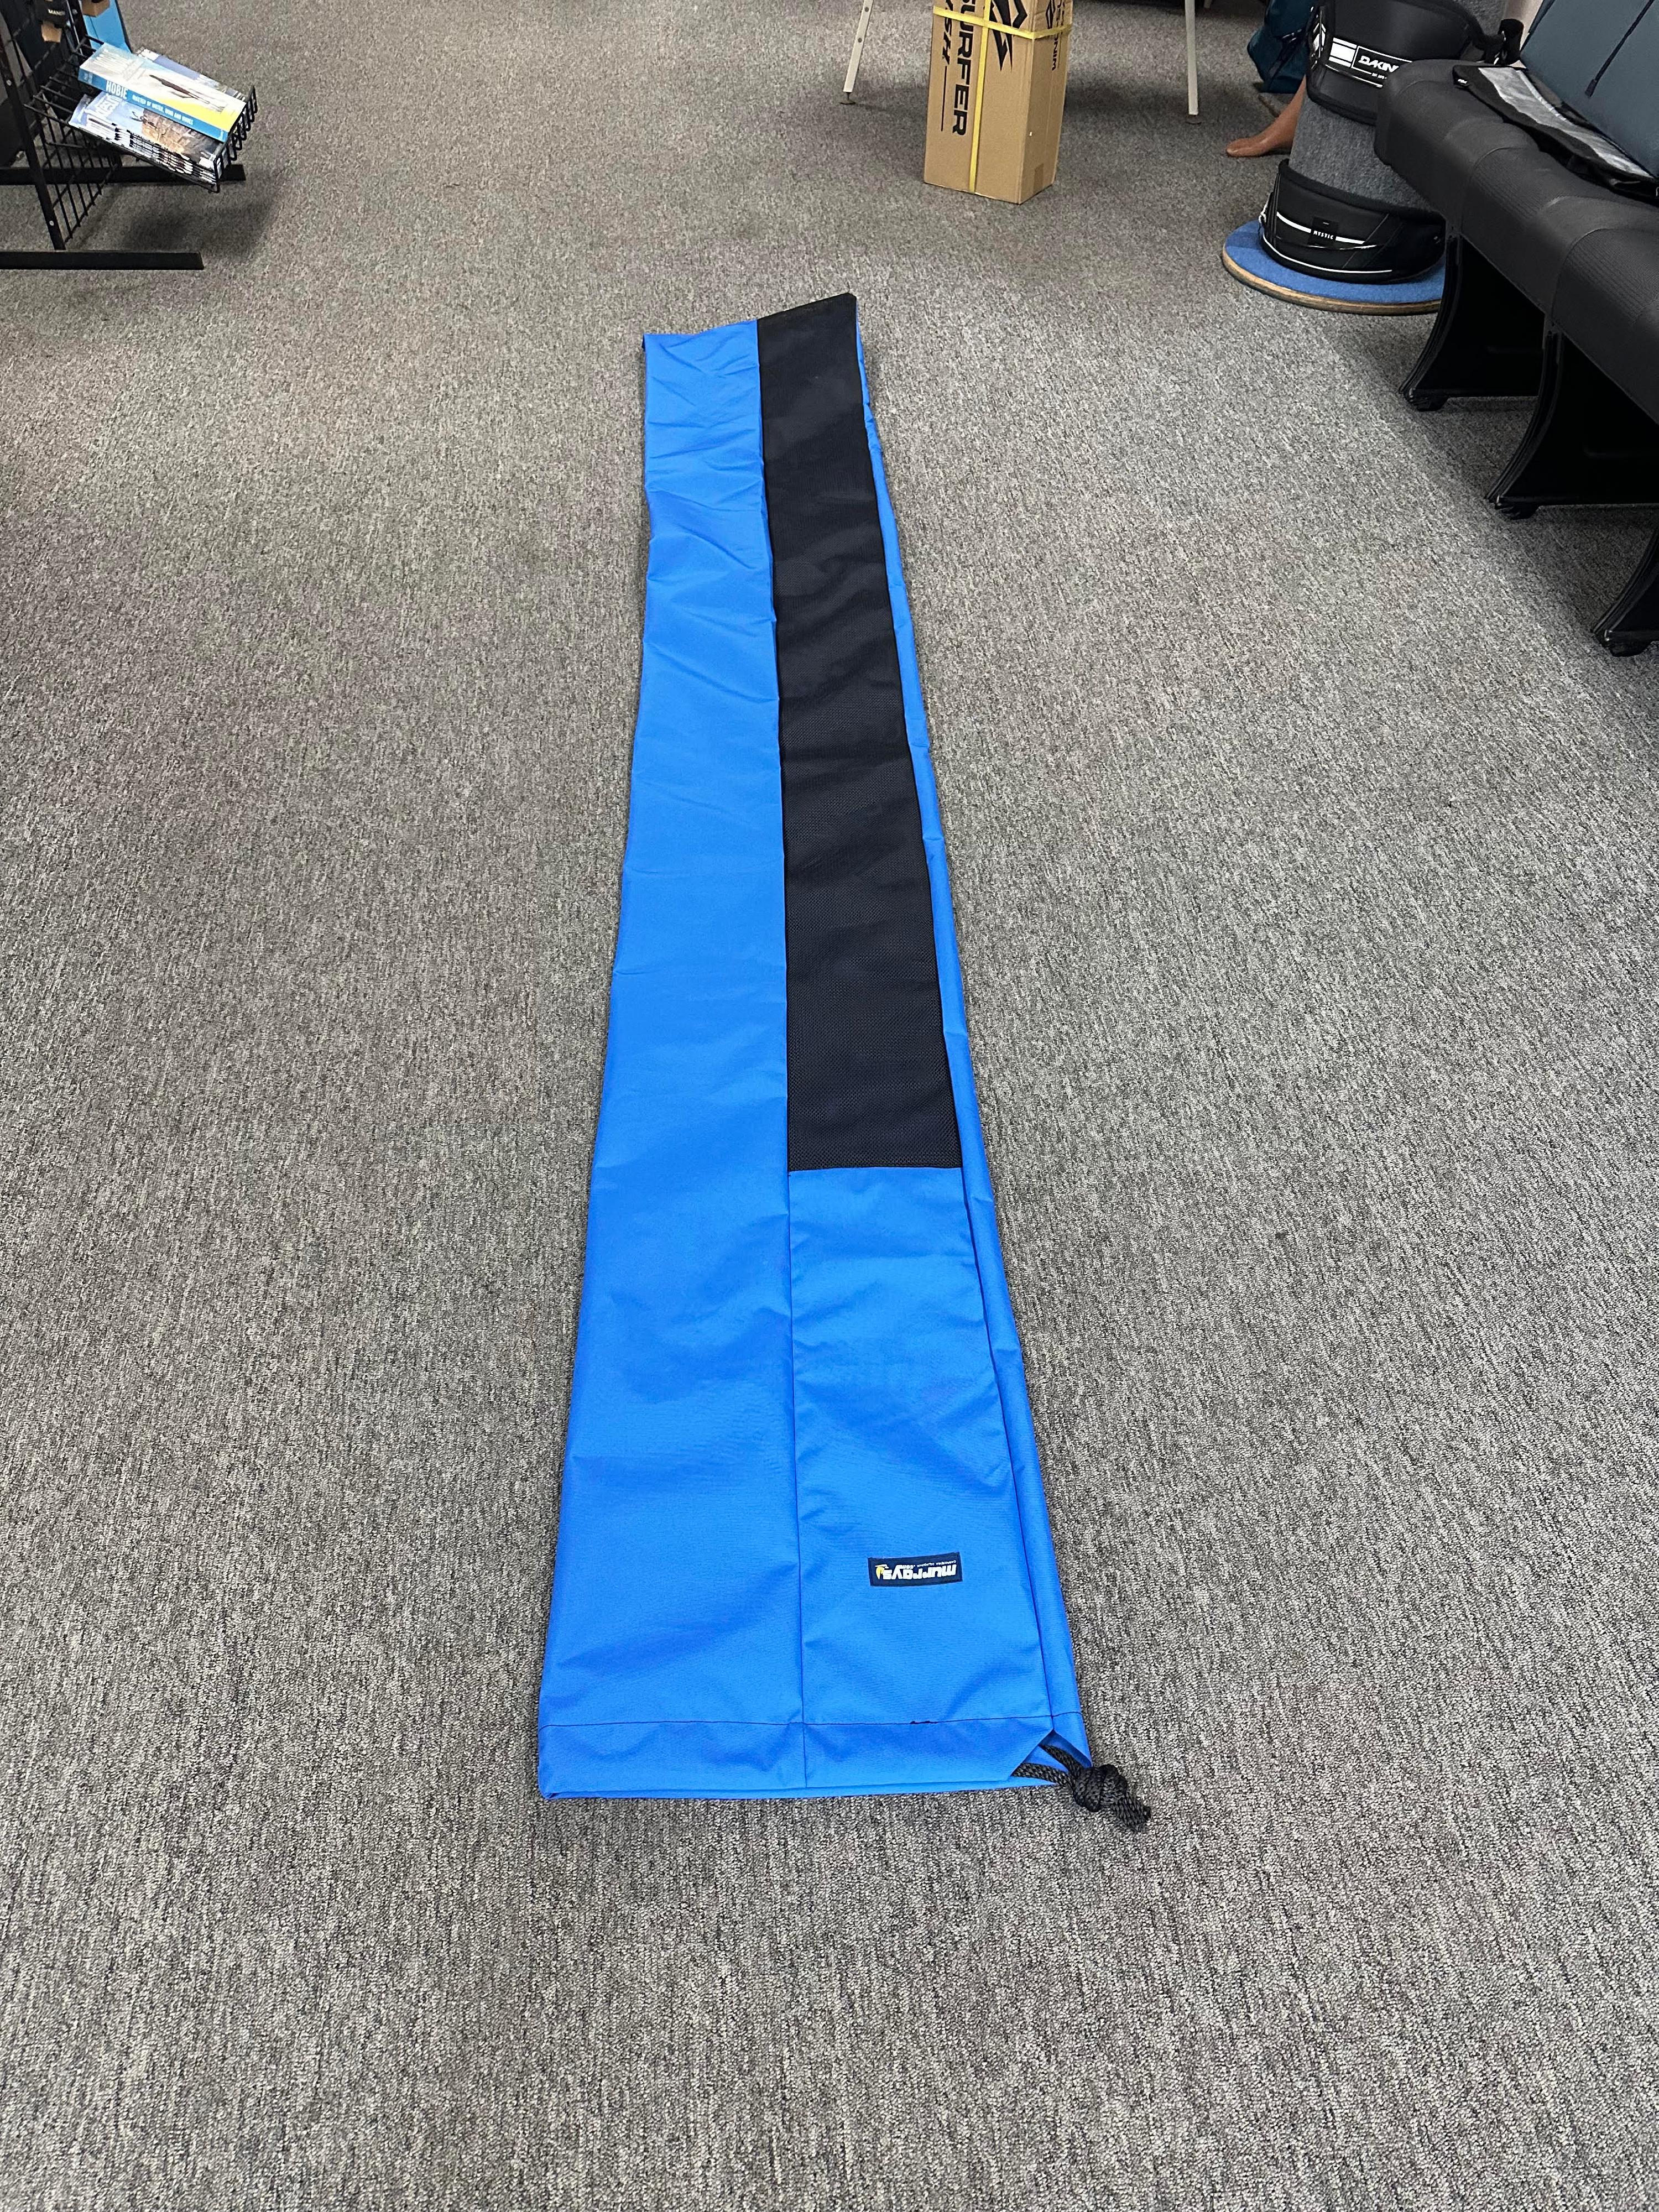


How to Install a Hobie Wave Trampoline: Step-by-Step Guide
Why Installing Your Hobie Wave Trampoline Properly Matters
The Hobie Wave trampoline is more than just a deck — it provides:
-
Support and comfort while sailing
-
Structural stability across the hulls
-
Safety by preventing slips between hulls
A properly installed trampoline ensures durability, optimal tension, and a safer sailing experience.
Tools and Materials You’ll Need
Before you start, gather:
-
Hobie Wave trampoline – replacement or new trampoline
-
Trampoline line kit or lace kit – for attaching and tensioning
-
Wrench or pliers – for pulling ropes tight
-
Gloves (optional) – protects your hands during rope handling
-
Lubricant - For aiding in tramp sliding in the track
Having the right tools and materials will make the installation faster and easier.
Step 1: Remove the Old Trampoline (If Replacing)
-
Loosen all attachment cords of the old trampoline.
- Separate the boat hull the trampoline is used to hold the boat together, on a Wave the hulls must be separated to get the trampoline off of the track.
-
Carefully remove the trampoline from the hulls.
-
Inspect the crossbars and tracks for wear or corrosion. Replace if necessary.
Step 2: Lay Out the New Trampoline
-
Unfold the new trampoline on a flat surface.
-
Position it over the hulls to check alignment.
-
Identify the front (bow) and back (stern) ends. Most trampolines have labels or markings.
Step 3: Feed the panels into the crossbars
-
Secure the front panels into the front crossbars.
- Secure the rear lacing strip into the rear crossbars.
-
Ensure the trampoline is centered and aligned.
Step 4: Tension the rails
-
Pull tension along the side tracks first.
-
Pull tension at front crossbar second.
-
Loosely lace the rest of the trampoline.
Step 5: Tension lacing
-
Work your way through the rear lacing and apply tension. REAR should be TIGHT.
- Tension center lacing. We recommend a bungee cord for the center as it is easy to over tighten the center lacing.
-
Tie half hitches near center lacing to secure the rear lacing on each side.
-
Adjust gradually to avoid overstretching or fabric damage.
Step 6: RE-Tension the Trampoline
- Go Sailing!
-
Gradually tighten all ropes or laces. The tramp and lacing will stretch.
-
Ensure the trampoline is firm but not overly tight.
Step 7: Final Inspection
-
Check all knots and fittings for security.
- Ensure rope ends are cut and finished properly or tucked into lacing.
Tips for Long-Lasting Performance
-
Rinse with fresh water after each use to prevent salt corrosion.
-
Store out of direct sun to reduce UV damage.
-
Check tension regularly — ropes may stretch over time.
-
Replace cords or fittings immediately if wear is noticed.
Hobie Wave Trampoline Upgrades
For competitive sailors, Murrays offers Formula Wave and Hobie Wave class upgrades. Benefits include:
-
Increased durability
-
Improved tension control
-
Better performance for racing or recreational sailing
Upgrade your Hobie Wave for a safer and faster sailing experience.
Conclusion
Installing a Hobie Wave trampoline is straightforward with the right tools and steps. By following this guide, you’ll have a safe, durable, and properly tensioned trampoline ready for your next adventure on the water.
Call to Action:
Need a replacement or upgrade for your Hobie Wave trampoline? Contact Murrays today for expert advice, premium trampolines, and class-approved upgrades.