Check Your Rigging!
Season Starter Boat Checks!
Check your Rigging! As you pull your boats out of storage, or pick one up for the first time, now is the best time to inspect your rigging! Sometimes we don't have time for thorough inspections, but here are some general and then boat specific things to look for to ensure more fun times on the water, and less tragic stories of equipment failure. All boats leak! It's just a matter of degree. Beach Cats have vents that prevent vacuum or pressure from building up. Vents are above the water line and shouldn't let water in on a light to moderate day. Heavy air days will typically see some water intrusion... Hobie 16s vent through the pylons. Hobie 18s vent through a hole under the x-bars or potentially a hole in the ports. Many NACRA sailboats have a small hole drilled in access ports. It's a thing!CHECK FOR LEAKS!
If you're concerned about water intrusion, there are some quick and easy ways to search for leaks. Here's a super quick video for a leak check. Note: The black hose is a shop vacuum set to blow. The hose is pushed up against the drain hole, but not sealed. The spray bottle is some dish soap in a squirt bottle with a lot of water. [embed]https://www.youtube.com/watch?v=kN7tofC7QCk[/embed]Check Your Rigging!
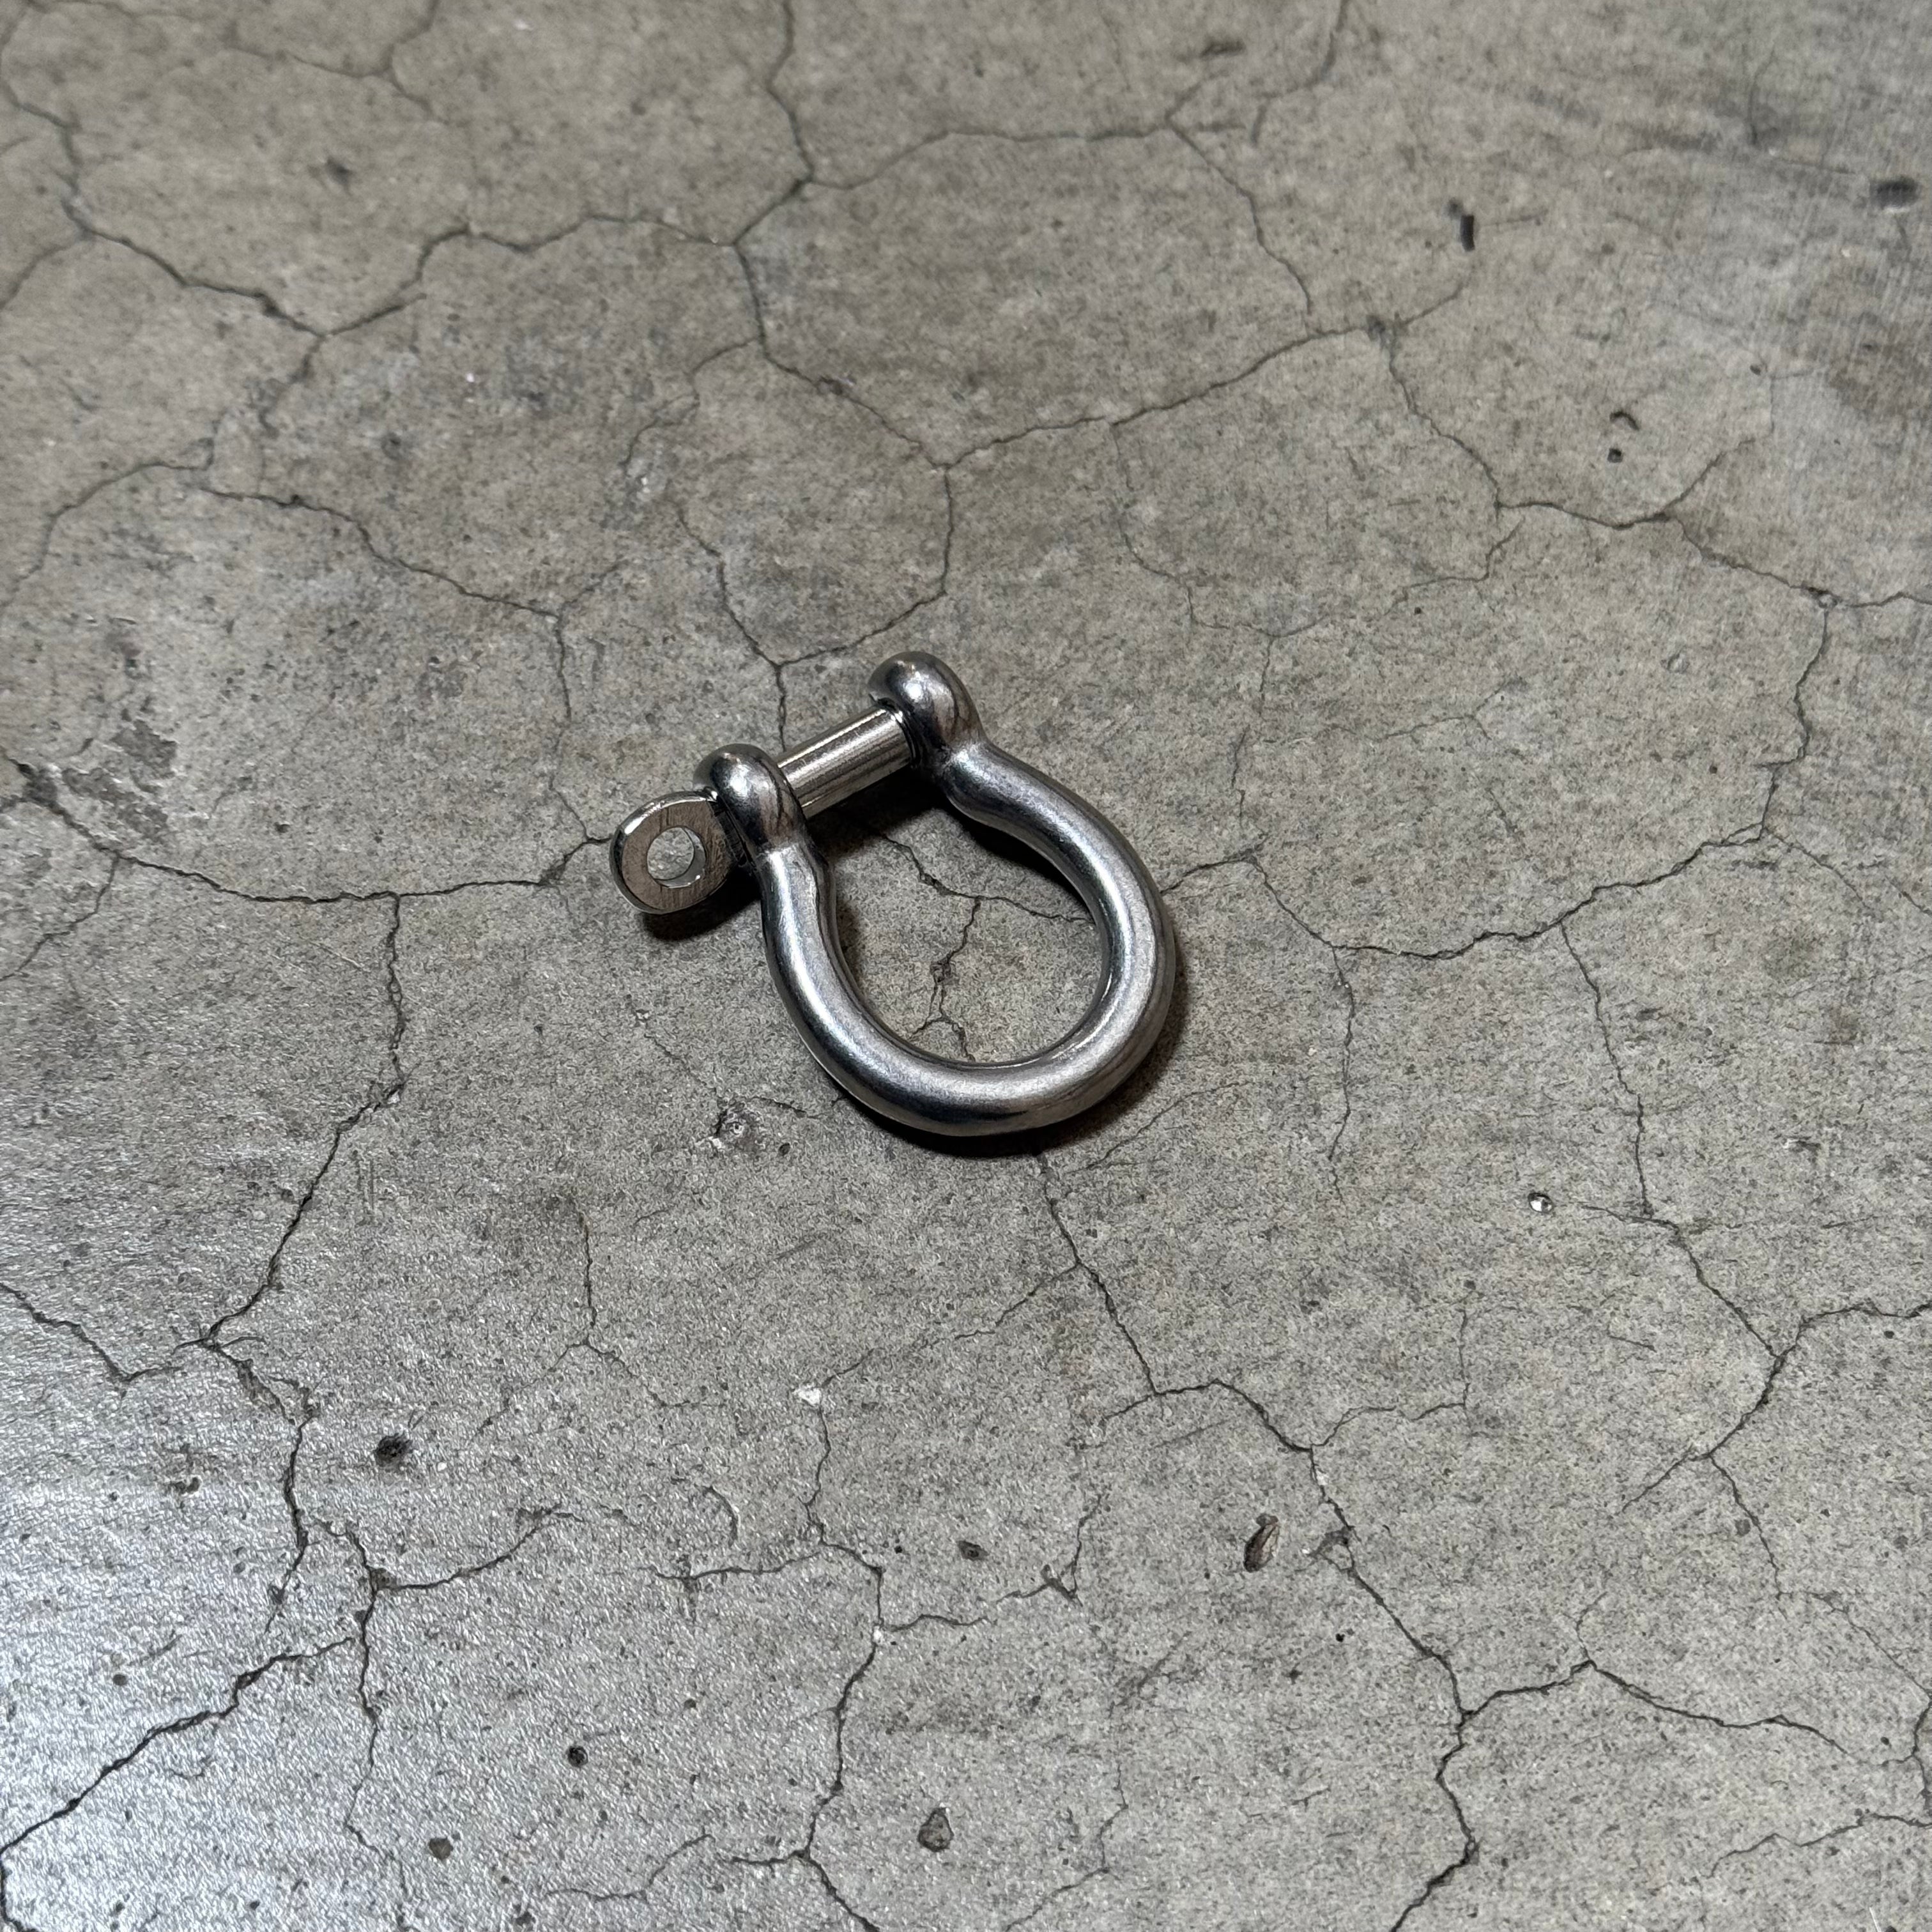
One of the most common equipment failures to ruin your day is a broken shroud. The consequences can range from limping/ paddling home to equipment loss, injury or even death! While that's extreme, the loss of your boat when offshore can greatly reduce your ability to make it back to land. Most shroud failures are due to older rigging or loss components. While this can be harder for sailors that leave their mast up all the time. Anyone that is trailer launching should at least take a quick look at their wires. Look for Rust. Look for Broken Strands. Look for Distortions. Look for rust! We use stainless 316 wire rope in our rigging. Many shops may use 304 for added strength and Murrays has used it in the past. We found that the added strength of 304 stainless steel wire rope is negated by the corrosion that occurs in salt water. Our general rule of thumb for standing rigging is that it should be replaced every 3-5 years when used in salt water. The generally applies to mixed use as well. Fresh water sailors seem to be able to get away with 8-10 years or more, with rigging issues based more on stress applied as opposed to time. So look for rust. Rust doesn't mean your rigging is going to fail, but the rust will occur at the weakest points in the rigging. All else being perfect, it will occur at the bearing point of your cables, as well as the crimp points where the cables were compressed. The heat from the compression will weaken the metal and this is the easiest place for the rust to attack! If you see rust streaks coming from the middle of your wires, this is likely a location of a kink or other "event" that has compromised the wire. Rust starts as a brown/red stain and then progresses into a sort of sandy/ flaking metal bits. If you can see broken wires already... it's time to replace! Look for Broken Strands! As noted above, the weak points should be at the ends, typically right at or near the crimps. To make the ends that allow you to hook up your rigging to your boat, the metal of the wire rope is compressed. The compression creates heat and slightly distorts the metal. Broken strands may initially occur at the thimbles or just out of the crimps. The other common point of failure comes from the shrouds or other cables dragging on the road during trailering, or catching on the trailer or boat while raising the mast and getting kinked. A kink does not mean your rigging will fail, but it does mean that it's weaker than it was. In some instances you may end up with a broken strand under the wire coating. Look for Distortions! My method for inspecting cables is fast, and a little dangerous. Proceed with caution! By flexing the ends a bit with your fingers, you can look for broken strands, but inspecting the length of the wires can be tedious. I like to run the wires through my fingers slowly and deliberately. This way you can feel bumps under the vinyl coating, or distortions in the wire rope that will indicate kinks or broken strands. With fully broken strands, this can create barbs or "fish hooks" that can catch and tear your skin! Move your hands slowly and do not hold the wire tightly between your fingers. When in doubt, use gloves. If you do a quick inspection each time you go out, or a thorough inspection once or twice a year, it's likely that you can find issues with your rigging before the issues become catastrophic. Check your Hardware! Just as I like to put my hands on my rigging, I highly recommend touching everything you can on your boat as your setting up to go out. Grab, pull, push and handle every bit you can. Bow tangs, rudder gudgeons and cross bars may look solid, but a quick pull or push may indicate that something is loose. Something may flex or otherwise give away that it needs attention. One REALLY common point of failure is simply having your shackles get loose. Use pliers to tighten your shackles, or better yet use some safety wire to secure the pins in place. Try and twist those pins! They shouldn't budge, if they move, you need to tighten them up all the way with your hands at least, and get a tool if you can. I have a fairly strong grip and typically trailer launch and take the mast down each time, so my shackles are all "finger tight" if I'm setting up a boat for longer term use, I use a shackle key or pliers to tighten the shackles more securely. Since "finger tight" is a subjective term here, and you're in doubt, use a tool! Check your Sails! Sails are often thrown in a bag and ignored between rides. Most of the sail is only seen once aloft or while recovering from a failure. It's a good idea to roll out your sail at the beginning of the season and inspect the batten pocket protectors, patch stitching and head/clew/tack plates or rings. Batten pocket protectors will typically fail when the plastic gets brittle and cracks away or the hardware falls out. Aside from keeping them out of the sun and rinsing occasionally, there isn't much you can do to protect against age, but some setups have screws that get loose and fall out, if the screws are missing, the parts will have to deal with extra stress and will fail prematurely. There may also be signs of failure in the sails near these high load points. Head/Clew/Tack plates and rings are often the second point of failure on a beach cat sail. These parts take on super high loads. The press rings don't have much that can be taken care of at home. Once they fail, they need to be replaced. However the plates used at these corners have a bunch of little solid rivets. While these are specialized rivets, they can be serviced/ replaced at home. As the sail gets older, these rivets can start to fail, when too many fail, those plates will fail and come off the sail. The sail will tear and get expensive quickly. So take a look at plates and make sure they're in good shape! Stitching! Sails are typically sewn in a zigzag or triple step stitch with a certain level of overlap and redundancy. Take a look for loose threads or more importantly, broken lines of stitching. Also, if stitching "tired" or has been exposed to too much UV, you can scratch it with your nail and it will fall apart.Check the bottom!
The keel of beach cats get worn down with regular beaching and needs to be built back up properly. And Finally... Check your Removable Parts! Port covers, drain plugs, rudder pins, clevis pins, mast step link kits, mast step pins, tiller extensions etc! Easy to misplace them after packing them up for the winter... and few things ruin a day like setting sail without drain plugs in! Boat Specific notes: Hobie 16:- Shroud anchor pins are a known weak point on a bunch of Hobies. The pin goes through the lip of fiberglass in the hull, and can be cracked or bent and not visible unless removed. There is now an updated version of this pin available that reduces failure potential.
- Mast bearings! These are often left in the mast step and lost over the winter season.
- Shroud anchor pins are a known weak point on a bunch of Hobies. The pin goes through the lip of fiberglass in the hull, and can be cracked or bent and not visible unless removed. There is now an updated version of this pin available that reduces failure potential.
- Check under the lip for cracks! The deck joint to the hull can fracture near crossbars. It's likely your boat will have some cracks, initially superficial gelcoat cracks that will evolve into water leaking and structural failure cracks. Inspect and evaluate regularly.
- The bow tangs make for great water scoops. These need to be re-sealed every few years with silicon. Consider loosening and retightening your crossbar bolts and dolphin striker bolts each season. This is mostly for salt water sailors... but both locations have stainless bolts going through aluminum tubes. The aluminum oxidizes and locks up the bolts. If you dismantle and lube regularly, you will get much better service life from your boat.
- Lube and inspect rudders! This applies to all boats, but the H20 uses the H18 castings and puts them under much higher loads. Also, stock white rudder for the H20 had a tendency to split down the center. Look along the seam of the two halves at the top of the blade for signs of cracking. It's easy to repair before the whole blade splits apart.
- Inspect rigging and sails... this boat is so simple it's hard to mess up.
More from:
Technical


